|
|
|
|
|
|
||
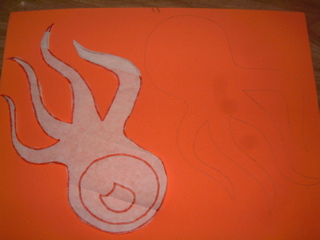
I cut out my paper pattern and traced lightly around it on my sheet of foam. I wanted my Squids to go in different directions on the finished mask, so I flipped the pattern over before tracing the second squid to make a "right" Squid and a "left" Squid.
You can make your Squids both face the same way, go up or down, left or right, or whatever. Each variation will make your Squid mask unique!
I cut out the overall body and the pupil only! I traced along the iris line to mark that on the orange foam, cut did not cut it out. I then traced iris circles and pupils on the light blue foam and cut those out.
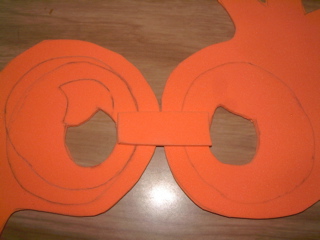
I took a scrap of orange foam and cut a simple rectangle shape. I held up the two Squids to my face and decided how I wanted them to go. The pencil marks you can see on the back show how I decided to change the alignment of the eyeball after I'd cut them out. Remember to only mark on the back so that no one can see it.
Once I decided how I wanted my Squids to go, I just glued them to each other using the scrap and trimmed it so that it didn't block the eye holes.
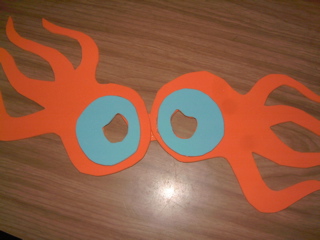
This is the front of my Squid mask. I just lined up the cut-out pupils on the orange bodies and the blue irises and glued down the blue foam.
|
|
|
|
|
All Content © 1998-2008 Rae Schwarz * ReLâCHE
Neither images nor written content may be reproduced elsewhere without express written permission. |
||